
How To Make Your Own Candles
Have you ever tried your hand at making candles? It’s easier than you think!
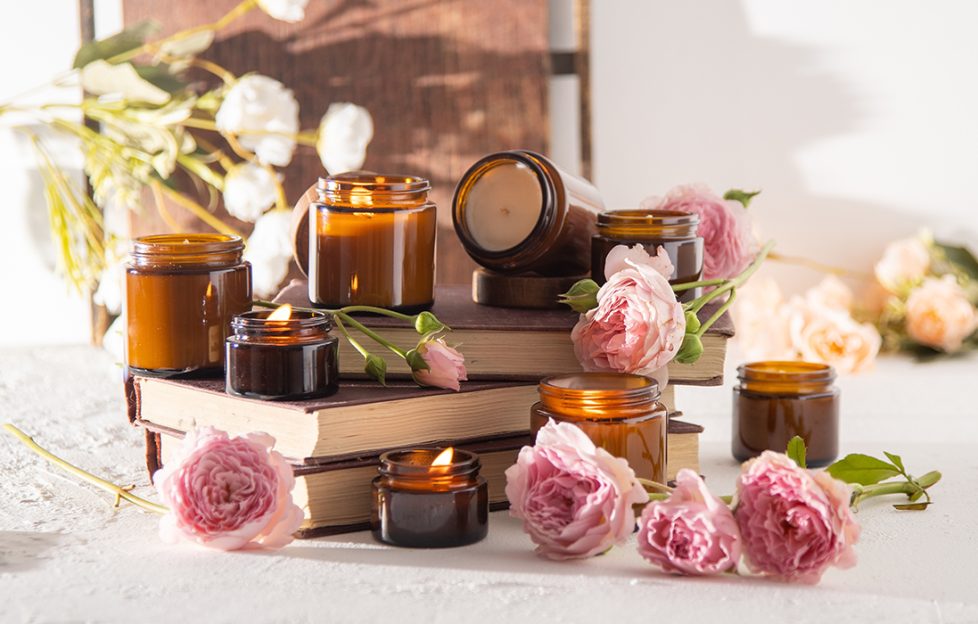
Candles make great gifts, as I discovered when I took a look at Etsy shops. There was even someone making “book-themed” hand-poured candles.
I immediately fell in love with the idea, however none of the scents were quite what I wanted. That made me think that perhaps it might be something which I could do myself; making a gift that was much more personal. (As well as saving me a little bit of money!)
Candle making kits
There are many different sorts of candles, but a basic hand-poured candle is very accessible for beginners. They are what they sound like — you pour wax into a container! So far, on my candle making journey, that’s as technical as I’ve decided to get.
The easiest way to get started would be to get hold of a candle making starter kit. These will generally contain all the basic supplies you’ll need, including wax, wicks, containers and often fragrance oils.
They’ll also include very detailed instructions, which might be useful!
Many candle supply shops provide easy, reliable starter kits, such as Candle Shack or Supplies For Candles. You can also find them on Amazon and other online retailers, but do be careful and make sure you’re reading the reviews to ensure you’re getting a good quality product.
If, like me, you’re feeling more ambitious than a kit allows — or you simply want to make a lot more candles — you can find all the supplies you need separately, too.
The items you’ll need to make candles:
Pic: Shutterstock / Tatjana Baibakova
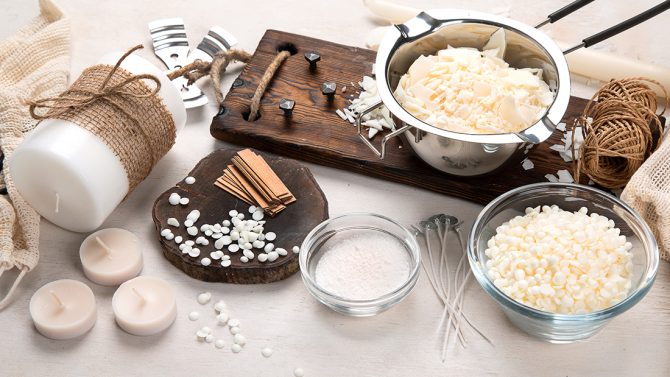
Wax
I prefer natural soy wax. It burns cleaner, and somewhat longer, than the other (cheaper) option of paraffin wax. It’s not extortionate either. The supplier I’ve used is LiveMoor – you can find a 2kg bag of wax flakes for just over £10.
Wicks
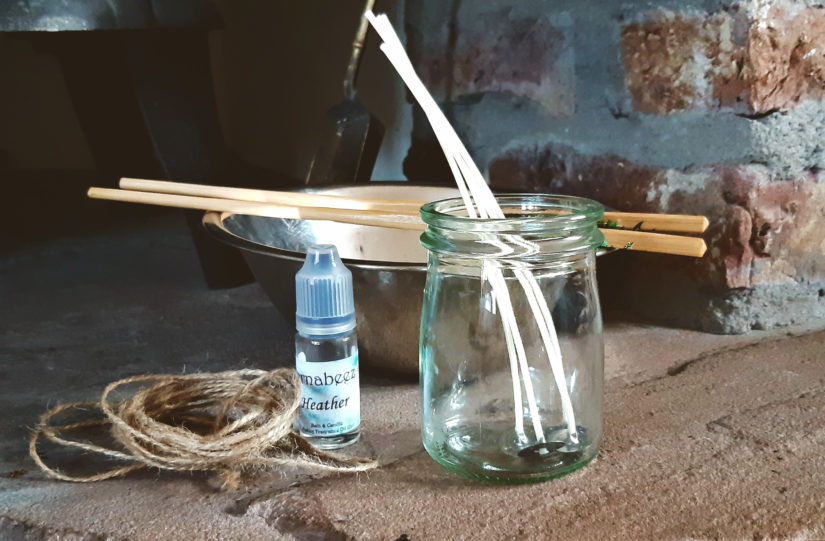
You’ll need to make sure that you get the right size of wick for the container you want to use.
This is one of the trickiest aspects for a beginner to get right (hence my suggestion to use a kit, if you want to avoid confusion and frustration). But the basic gist of choosing the right wick comes down to getting a big enough wick for the diameter of your container.
There are many guides out there to help you choose the right wick, here’s is one guide that includes an easy table to follow.
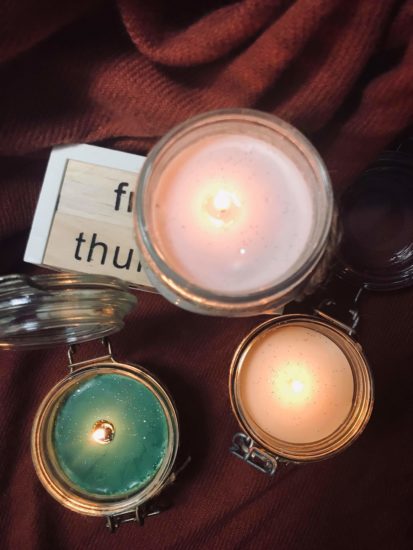
A container
This is the easy bit!
You’re bound to have a collection of old jam jars lying around. You maybe even have a candle you’ve already burned that came in a pretty container! I’ve made candles in jam jars, old candle tins, and click-open Kilner jars.
As long as the container is fireproof, it should work! Do be careful not to use fine china or anything that may shatter. Thin glasses aren’t a great idea either, for the same reason.
As discussed above, the diameter of the container will dictate the width of wick you’ll need to execute a safe and effective burn.
Something to hold the wick in place
You’ll want something to fix the metal base of the wick into the container, and something to hold it straight as the candle dries.
One easy option to fix the base in are these Glue Dots. I have also used super glue, although this is trickier as it slides around more.
When you get to grips with the whole process, you can also use the melted wax itself. As for holding the wick in place as it dries, you should invest in a “wick centring tool”, which sits on top of the container.
This is something I haven’t yet invested in — I use a pair of old chopsticks, or a wooden peg! They work fine, but it can be a little more hassle to balance them properly. They can sometimes roll off the jar, or plunge into the wax.
Fragrances and dyes
You might want to look into fragrance oils and dyes to add to your candles. Who doesn’t love a scented candle?
There are several more comprehensive guides out there to discuss how much of each you’ll need. This often varies per manufacturer.
The rule of thumb for the dye I use is that 10g colours 1kg of wax. Many guides suggest that 10ml of fragrance oil should be used per 100g of wax for optimum scent throw.
Many official guides suggest against using essential oils as fragrance, as the results can be very unpredictable.
There’s also a lot more dedicated candle-specific equipment out there (measuring jugs, thermometers etc).
These are all important things to consider, but — I venture — not something you need immediately invest in if you’re not sure you’re taking up the hobby full time.
You can make candles with what you’ve most likely got in your kitchen already!
And that’s it really!
How to make the candles
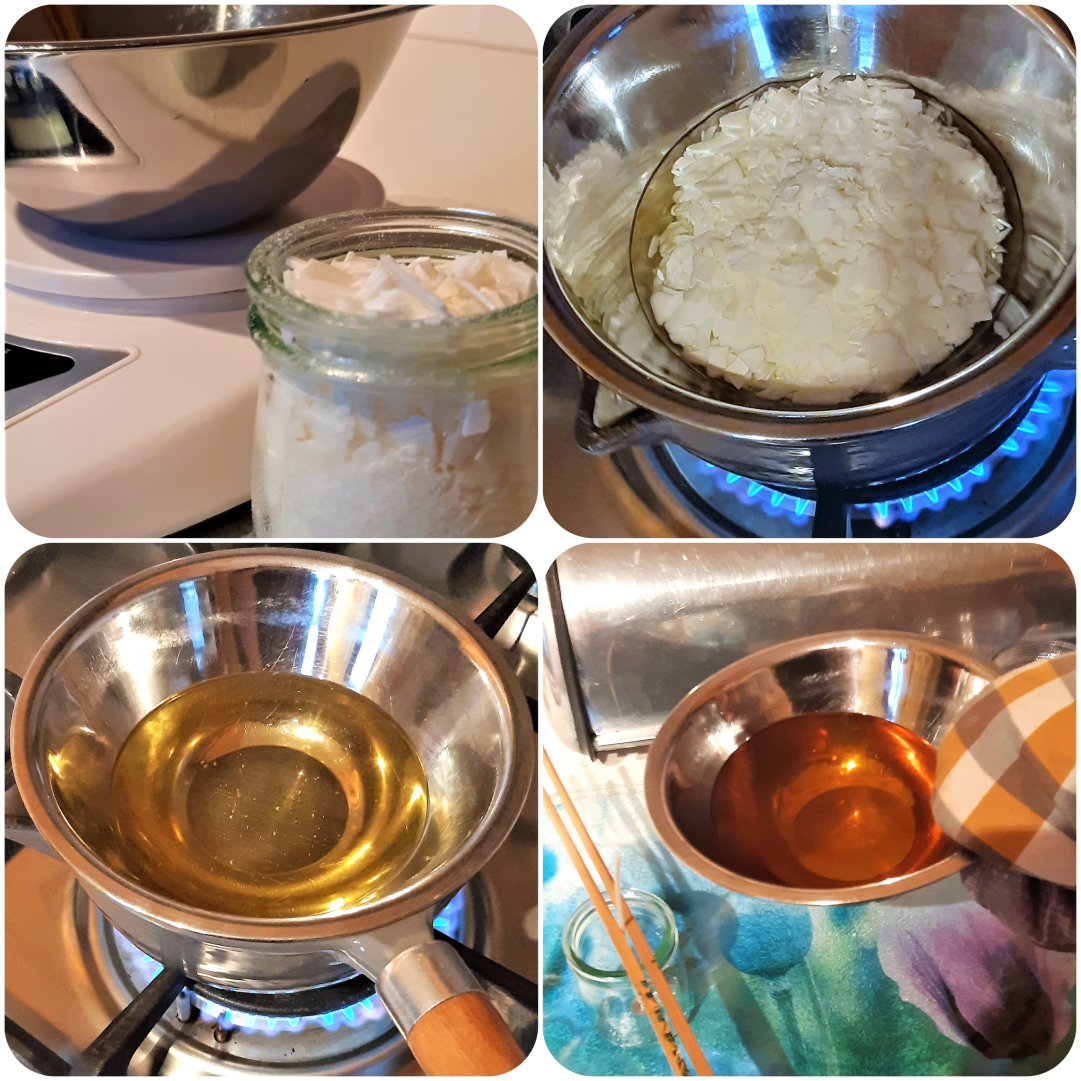
1. Firstly, I measure how many flakes my container holds dry. For my example candle, this was roughly 100g. I usually double this, and add roughly 20g extra to make sure I have enough melted wax to fill my container and smooth out any cracks and bumps at the other end.
2. I pour the wax into a stainless steel bowl, then I set the bowl over a pan of boiling water (as you would do to melt chocolate) and allow it to melt. This won’t take very long, as you only want it to melt, not boil. Be very careful at this stage, as it will be extremely hot.
3. Once the wax is melted, add any dyes you want to use. Turn off the heat, and mix it through thoroughly.
4. Once it has cooled, but is still liquid, you want to add fragrance. If you add it too early, when the wax is molten, it will burn off — meaning the scent throw of your final candle will be weaker.
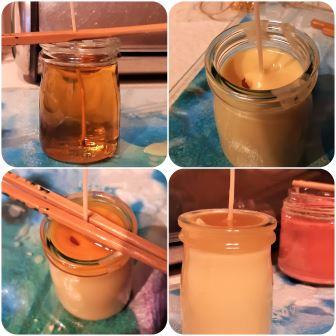
5. Again, when the wax is cooling but not solid, you want to pour it into your container. This can be a little tricky, so you may want to pour it from the bowl into a warmed jug first, to make your own life a little easier. If the wax gets too cool to pour, you can always set the bowl back in hot water to loosen it up again. Make sure to keep the wick straight and centralised while you pour. Keep a little bit of wax back.
6. The next step is simple: leave it to cool!
7. After it’s cool enough to touch (10 minutes or so), I set mine on a wire cooling rack. You don’t want it to cool down too quickly, or the wax may develop bumps or cracks, so leave them at room temperature.
8. Remember the wax you kept back? As the candle cools, there is a chance that it will crack, or develop a hole on the top near to the wick. That’s perfectly normal.
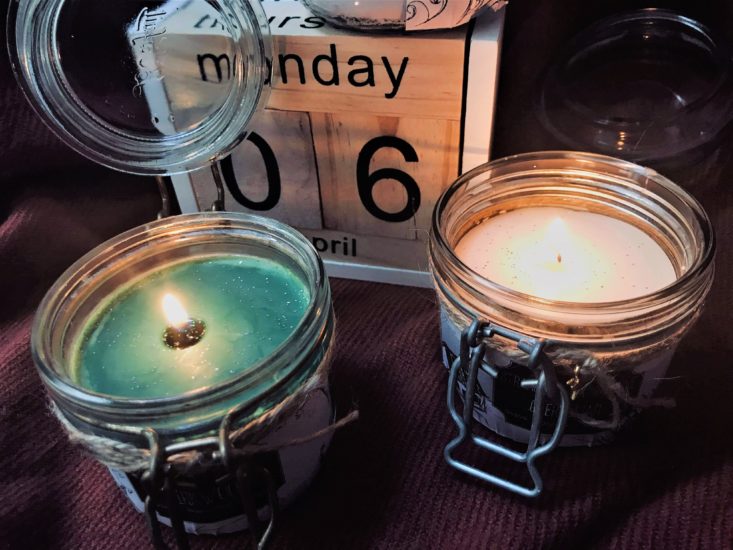
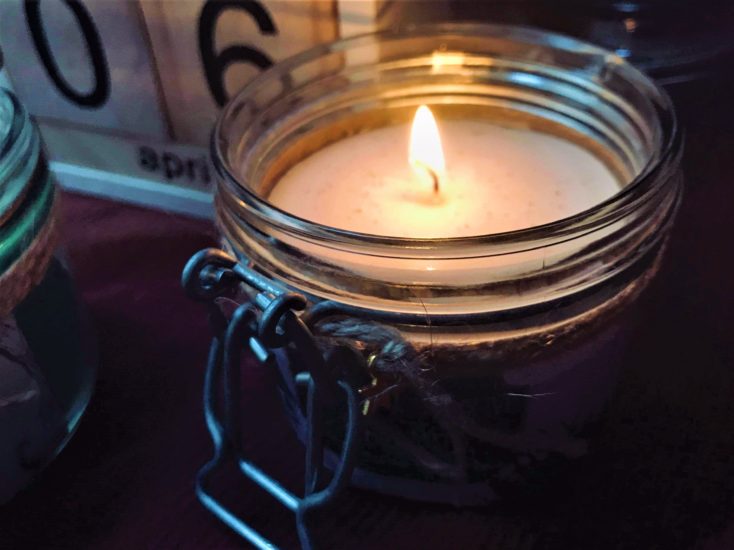
9. Once everything is cooled, reheat the extra wax and pour it over as a “cap”. It’ll help even out the top of your candle. After that, walk away and leave them to cure thoroughly! Expert advice suggests leaving candles for at least 24 hours, but up to two weeks, after you make them. This ensures they are completely set, and you get as long a burn time out of them as possible.
Leftover wax
If you have leftover wax, I suggest you keep an extra jar to hand; whenever you have any excess, you can pour it in there instead of wasting it.
Same goes for old candle stubs: melt them down, too, and add them! Soon you’ll have a full-sized, and very interesting-looking candle!
Candle decoration
As you get more confident, you can experiment with colours and scents, gradient colours, and décor.
It is a good idea to avoid including anything flammable (such as pot pourri or flower petals) in your wax, however.
Although you may have seen professional candles containing them, and as nice as it looks, this is generally considered a very bad idea, as they can be a fire hazard.
Will you be trying your own candle soon? Let us know! Message “The People’s Friend” on Facebook.
For more great craft ideas from “The People’s Friend”, click here.