

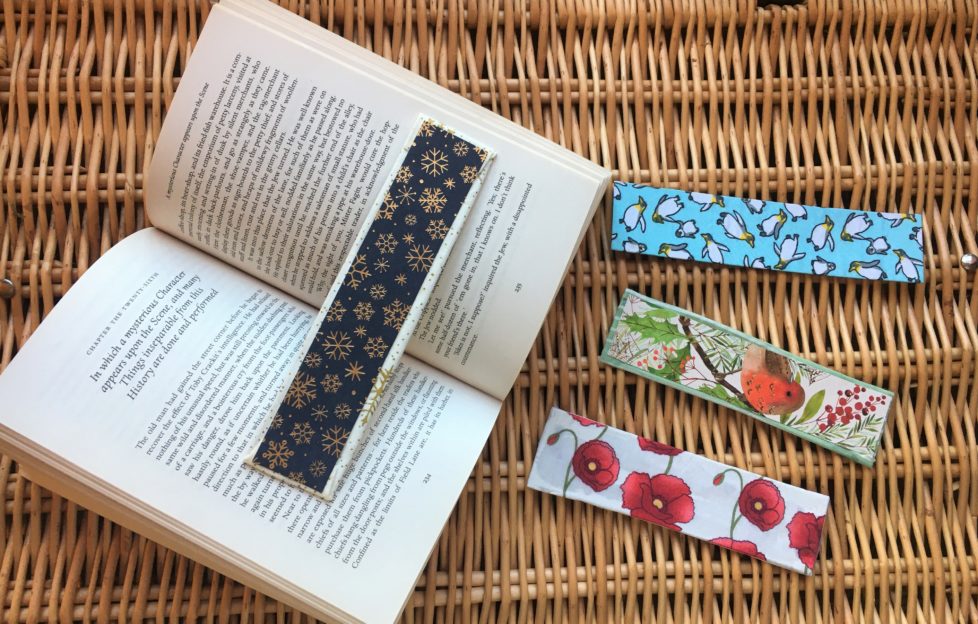
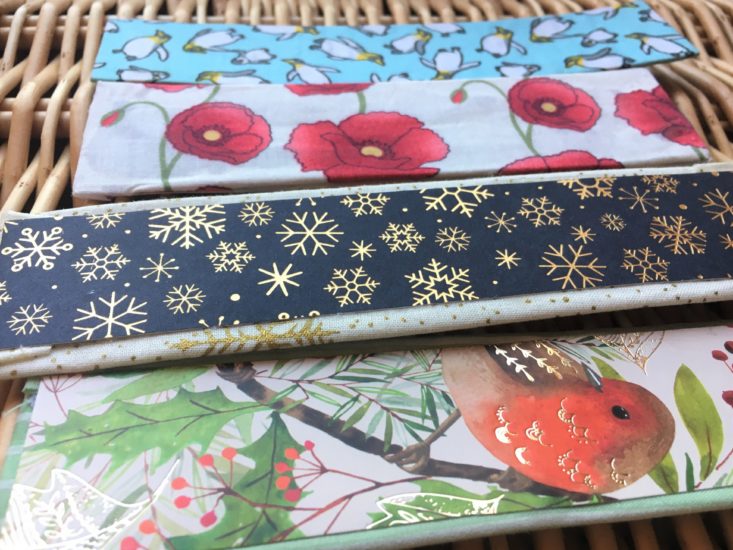
Recycled Christmas Card Fabric Bookmarks
Who else finds themselves losing bookmarks around the house?
I may have a solution . . .
Christmas cards
One of the things I like most about the run-up to Christmas is the slow trickle of Christmas cards.
This Christmas, the earliest one to arrive through the letterbox came in mid-November. And our last was a straggler arrived just last week, almost a week after the decorations came down!
The problem we always have, year after year, is what do you do with greetings cards after the event?
Obviously, you’ve got the option to recycle them, but it seems a waste sometimes. My mum always used to use this year’s cards to make next-year’s gift tags, which is a thrifty solution to two problems, but ultimately still leads to the recycling bin.
So I got to wondering – was there anything else can I do with this year’s cards?
Luckily, I found the perfect project!
These fun fabric-covered bookmarks are incredibly easy to make, and also provide an ideal way to use up awkward fabric offcuts, and leftover packaging. And they’re so straightforward to make!
Photograph by Kirsty Souter.
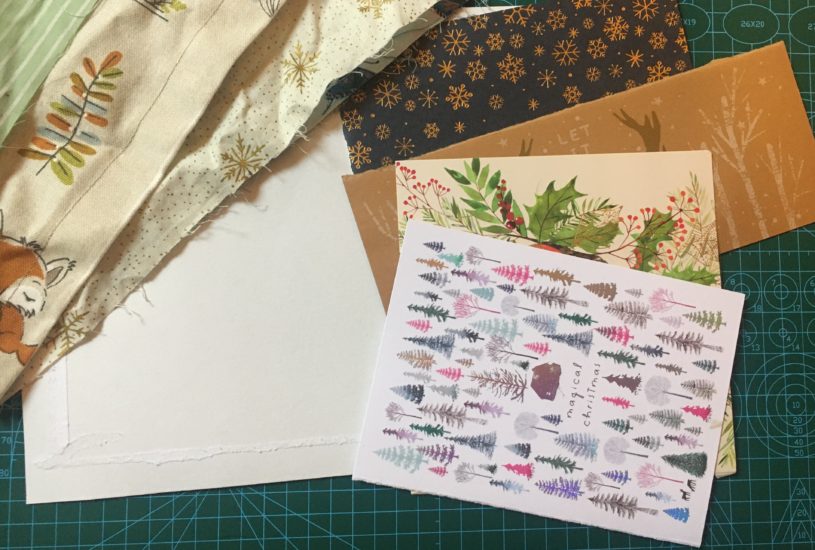
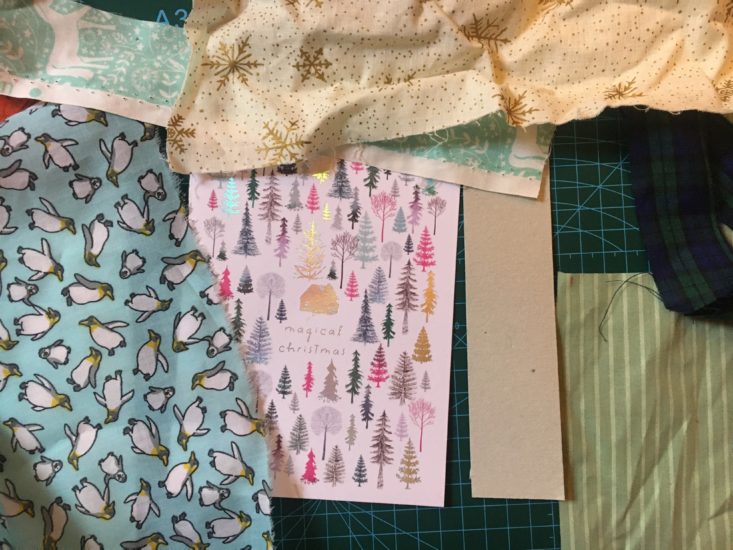
What you’ll need
- A selection of Christmas cards
- Stiff but thin cardboard; (I used part of cardboard-backed envelope, but you could use a cereal box or even another piece of Christmas card!)
- Fabric offcuts (a light-weight quilting cotton is ideal; avoid anything with stretch, or anything very heavy weight)
- Scissors
- Glue (PVA, and potentially something a little stronger as well, depending on the weight fabric used)
Method
Photograph by Kirsty Souter.
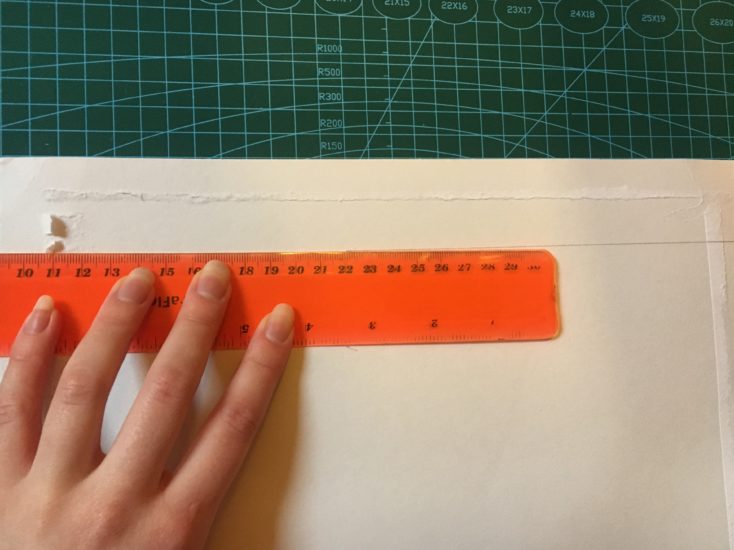
After gathering your materials, the first thing you’ll want to do is cut your basic bookmark shape from the stiff cardboard.
This will be what you’re using as your base.
You’ll need to consider the length of the cards you want to use.
I recommend you cut the backing around ½ a centimetre longer than your greeting card, and 4 cm wide.
Of course, you can cut thicker/thinner as you desire.
Photograph by Kirsty Souter.
Photograph by Kirsty Souter.
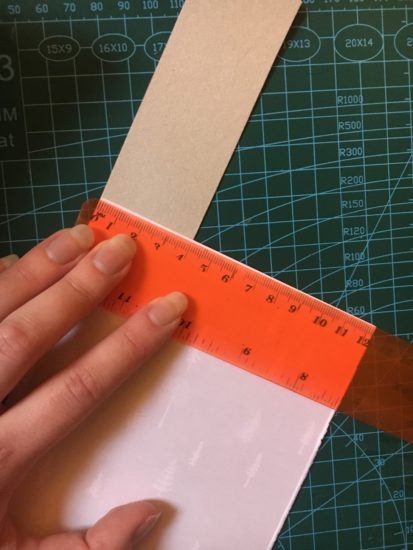
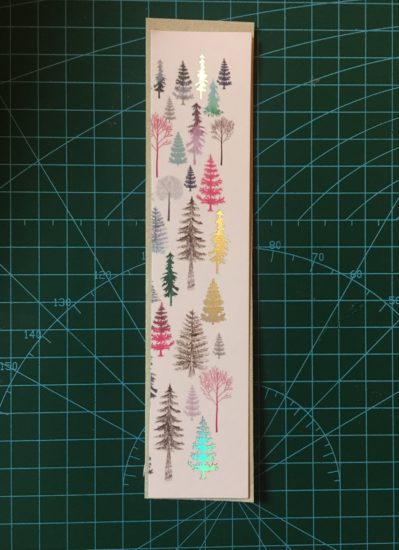
After cutting the base, cut a comparable slice from your greeting card.
I recommend making it around 1/5 a centimetre smaller on both measurements.
Photograph by Kirsty Souter.
Next – choose a fabric!
This is another great opportunity to revisit a fabric stash and look for an awkward sized off-cut, instead of letting it go to waste.
Alternatively, if you’re not really a sewist, you could use an old piece of clothing, a holey old pillowcase . . .
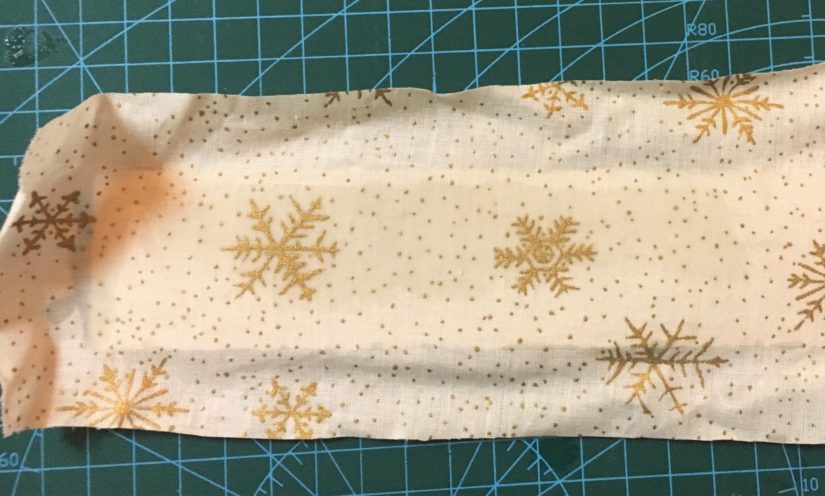
Cut out your fabric using the measurement of your base, leaving a rough 1 centimetre allowance of fabric around the edges.
You’re going to need to fold this fabric, and cover the raw edges with your greetings card, so if you’re nervous about that step, give yourself a little extra – enough that the raw edges of the fabric on the long edges will meet in the middle.
Photograph by Kirsty Souter.
(I forgot to photograph this step the first time, so forgive the change in fabric!)
Cover the base cardboard with a thin layer glue, scrape it flat and cover the whole piece smoothly (perhaps with another small piece of card) and press your fabric over the top and pull it smooth.
I tried various different glues at this stage, and found that a PVA was the most effective and user friendly, and didn’t dry splotchy.
Leave this to dry for a while, unless you want sticky fingers going forward!
Photograph by Kirsty Souter.
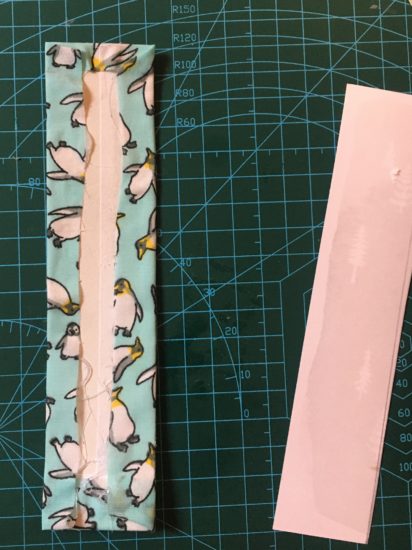
This second-to-last step is the most ‘tricky’ of the steps; here’s where you fold all the raw edges in and secure them down with glue.
PVA might not be strong enough for this step, so a stronger adhesive like UHU all-purpose will be handy to have on hand.
If the glue dries visible, that’s alright. We’ll be covering it anyway!
Finally, we’ll take that piece of greeting card we cut earlier, and just like before, we’ll cover the back with a thin overall layer of glue – carefully.
Then, simply press the card piece down! At that point, you’re finished, leave everything to dry!
Photograph by Kirsty Souter.
Once it’s tacky, you might notice the cardboard warping a little.
Just carefully position something heavy on top of it as it dries, or to be on the safe side wait until everything is dry and leave your bookmarks sat underneath a big book or something overnight.
Photograph by Kirsty Souter.
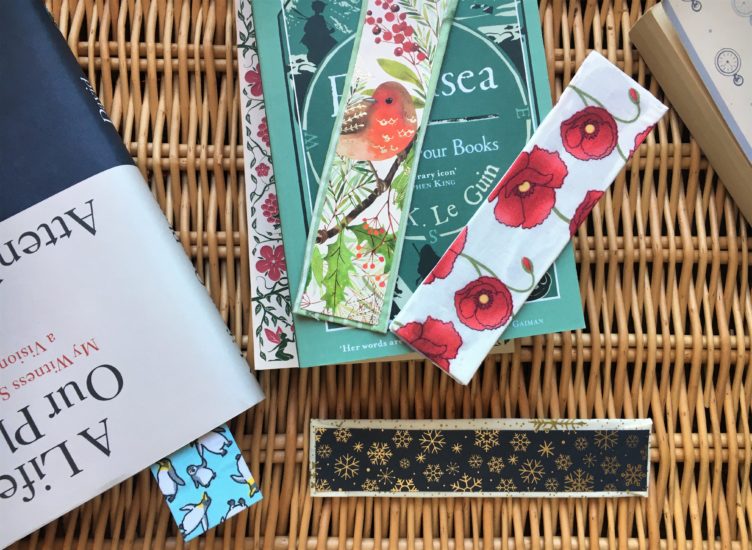
I was pleasantly surprised by how this project came out!
I really like the way they look, and it’s so nice to keep reminders of the lovely cards I received from friends and family over the festive season!
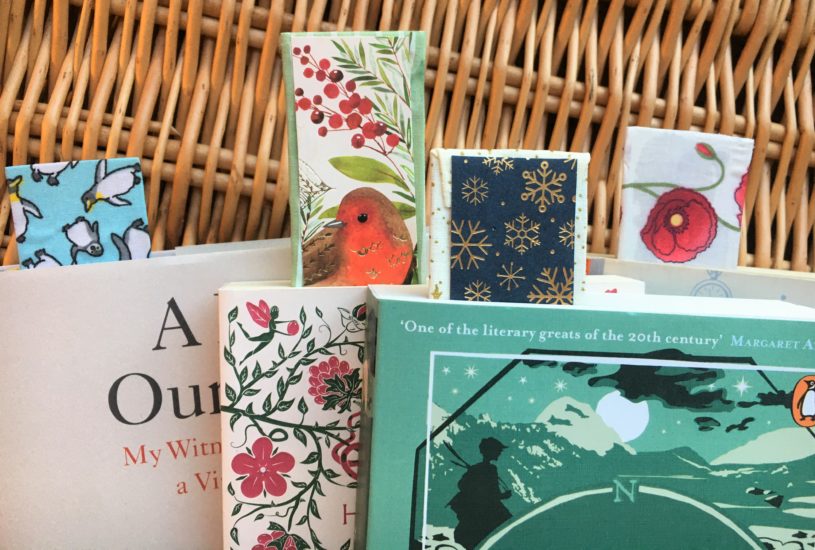
There’s maybe a little bit of a knack to getting everything just-so, but once you get the hang of things, these bookmarks are so quick and easy to make.
You can easily personalise your bookmarks, and would make a perfect accompaniment for a book-gift – maybe for next year’s Christmas?
Photograph by Kirsty Souter.
For more craft projects from “The People’s Friend”, click here.